Building a BirdNET-Pi
25/Jul 2023

I was already familiar with the concept from Cornell’s Merlin app, which does something similar on your smartphone. If you hear a bird, you can bring up the app and it will listen and tell you what you’re hearing. It turns out that both the Merlin app and the Haikubox are based on a Cornell project called Birdnet. It’s an artificial neural network (AI software) that can recognize the sounds of over 6,000 bird species from all over the world.
If you’re a normal person who read this far you might think, “I’ll buy a Haikubox and put it in my yard.” Being the kind of person I am, I thought, “I’ll bet I can build one of those myself.” Five minutes of Googling revealed that someone else had already done that, and had done a much better job of it than I would have. The project is called BirdNET-Pi. It provides all the software pieces needed to run Birdnet on a small computer called a Raspberry Pi. It can also report what it finds to Birdweather. (That link is the station I set up at here at our home in Brunswick, Maine.)
Our station has been setup at home for about 10 days as I write this. It’s averaged around 500 bird detections a day and has seen a total of 44 species. Here’s the list of what it’s identified so far:
- Alder Flycatcher
- American Crow
- American Goldfinch
- American Robin
- Black-and-white Warbler
- Black-capped Chickadee
- Blue Jay
- Broad-winged Hawk
- Canada Goose
- Cedar Waxwing
- Chestnut-sided Warbler
- Chimney Swift
- Chipping Sparrow
- Common Raven
- Common Tern
- Common Yellowthroat
- Downy Woodpecker
- Eastern Bluebird
- Eastern Kingbird
- Eastern Phoebe
- Eastern Wood-Pewee
- Gray Catbird
- Great Blue Heron
- Great Crested Flycatcher
- Hairy Woodpecker
- House Finch
- House Sparrow
- House Wren
- Least Flycatcher
- Mourning Dove
- Northern Cardinal
- Northern Flicker
- Osprey
- Pileated Woodpecker
- Purple Finch
- Red-bellied Woodpecker
- Red-breasted Nuthatch
- Red-eyed Vireo
- Ruby-throated Hummingbird
- Scarlet Tanager
- Song Sparrow
- Tufted Titmouse
- White-breasted Nuthatch
- Wood Duck
I certainly haven’t seen every one of those species here, but we have seen many of them. Perhaps one of my birder friends can weigh in on whether there are any wildly implausible ones on that list.
So far the setup has been very reliable. We’re looking forward to seeing which different species show up as the seasons go by.
Most people should probably stop reading here and go play with Birdweather. If you’re a techie sort and want to build one for yourself, read on.
How I Did It
While BirdNET-Pi has great documentation, when I started on building my own I soon ran into an issue. BirdNET-Pi assumes you’ll use a Raspberry Pi 4B, Raspberry Pi 400, Raspberry Pi 3B+, or Raspberry Pi 0W2. Unfortunately, none of those are easily obtainable–supply hasn’t been keeping up with demand for a couple of years now. When they are available it’s usually at a significant price premium. So I started looking for alternatives. After reading discussions on the site, I decided on the Libre Renegade. It’s a similar form factor and people were having success using it for BirdNET-Pi. I also needed acessories like a micro SD card, power supply, enclosure and Wi-Fi dongle. See the shopping list below.
The other key part is the microphone. The BirdNET-Pi site has a long discussion thread about choosing one. I chose a simple, cheap USB lavalier microphone. While there are probably better choices, this one got me started and seems to work fine.
Shopping List
I ordered everything from Amazon. You might be able to save a few bucks by shopping around.
| Part | Price | Notes |
|---|---|---|
| Libre Renegade | $50.00 | See above. |
| Movo M1 USB Lavalier Microphone | $19.95 | See above. |
| CanaKit 5V 2.5A Power Supply | $9.95 | |
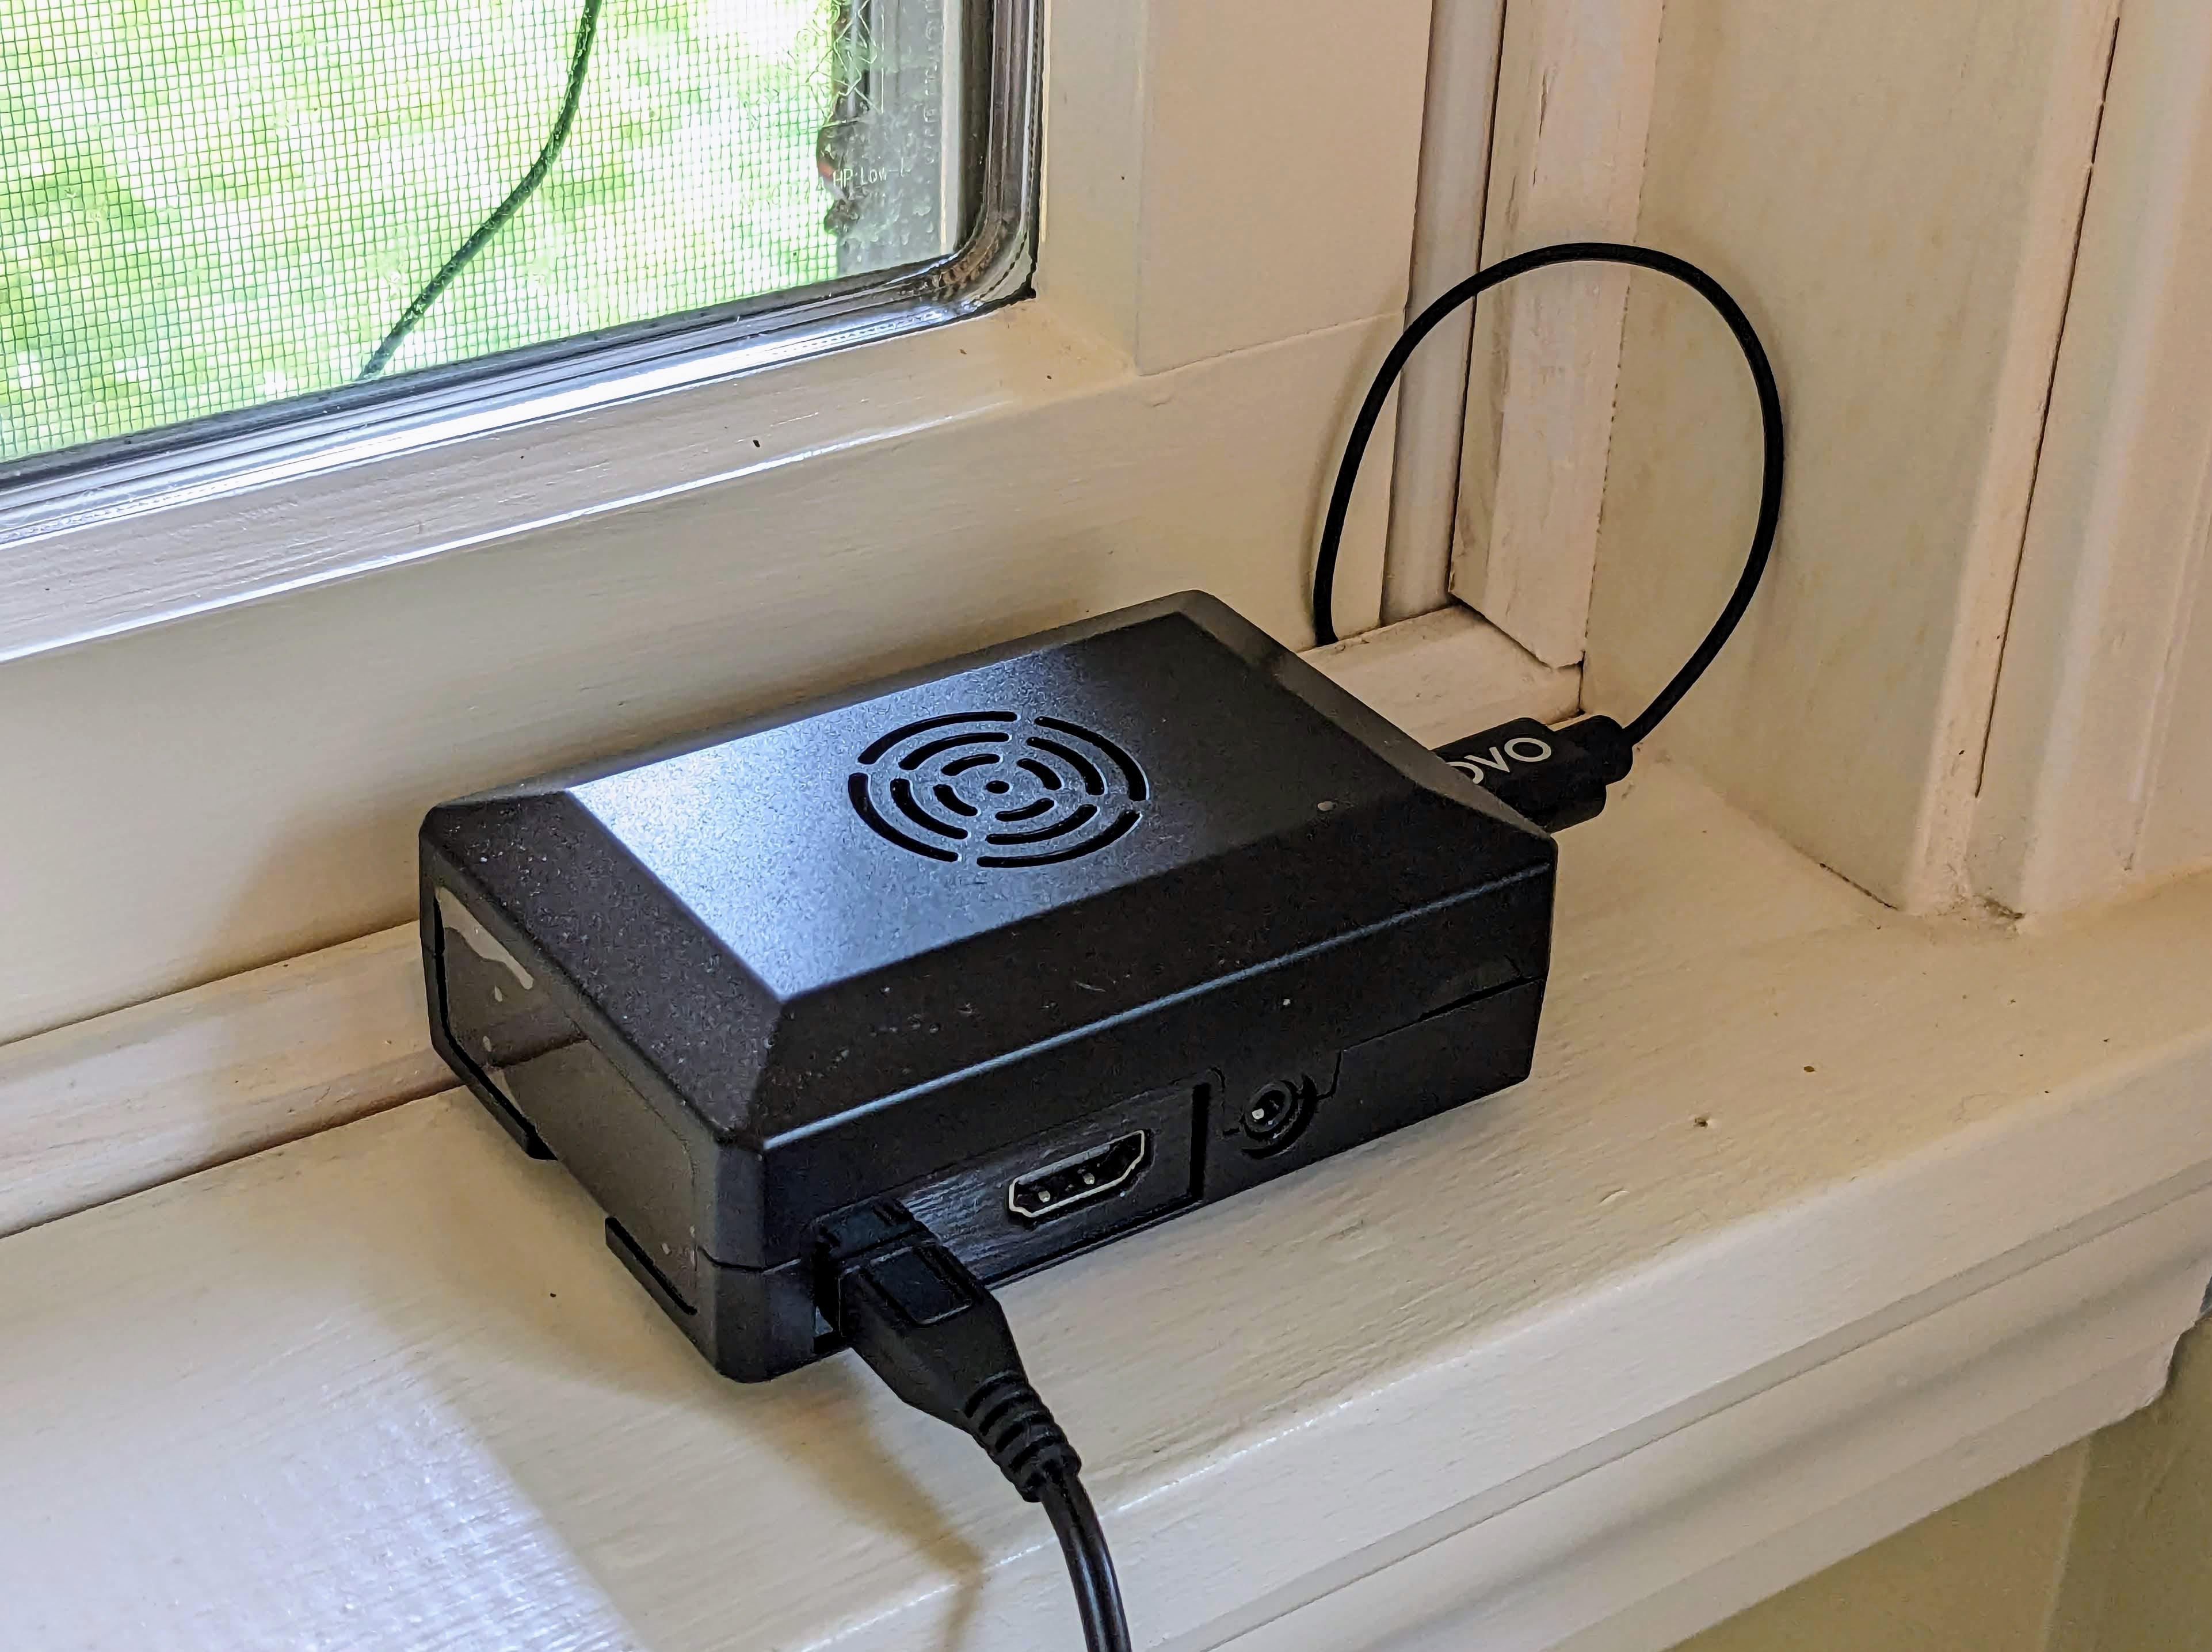
| LoveRPi Active Cooling Media Center PC Case with Fan | $14.99 | Not all the Raspberry Pi cases will fit the Libre, but his one does. I like having the fan, since the bird ID model is CPU intensive. The fan is kind of noisy even on the lower speed setting. |
| Libre Computer Board Heatsink for ROC-RK3328-CC | $9.99 | A generic one of the right size probably would have been cheaper. |
| GenBasic WiFi 4 USB Nano Wireless Network Dongle Adapter | $9.99 | This one was supposed to work with the Libre board. It does. |
| SanDisk Ultra SDSQUNS-032G-GN3MN 32GB 80MB/s UHS-I Class 10 microSDHC | $7.99 | microSD cards are cheap enough now that I always go with fast, name brand ones. |
| Total | $122.86 | plus tax |
Installation
The installation guide is very good. The only issue I ran into were because I was using a Libre Renegade instaed of a Raspberry Pi. On the first step of the guide, you will need to download the Renegade Raspbian image from https://distro.libre.computer/ci/raspbian/11/. For the Renegade I used the Lite rk3328 image. This page describes how to install it. I was trying to do a headless installation and ran into the issue described here. I worked around it by messing with files on the microSD card. Until they fix the issue, installing with a keyboard and monitor will be easier.
Once I had a bootable system with a user and SSH access, I followed the install instructions starting at step 14. After that, I just followed the steps in the guide, and everything worked! On the Settings page, I set my longitude and latitude and changed the model to BirdNET_GLOBAL_6K_V2.4_Model_FP16, the newer and supposedly better option. I also sent an email to request a BirdWeather ID and got a Flickr API key to allow the web UI to display bird pictures.
Siting
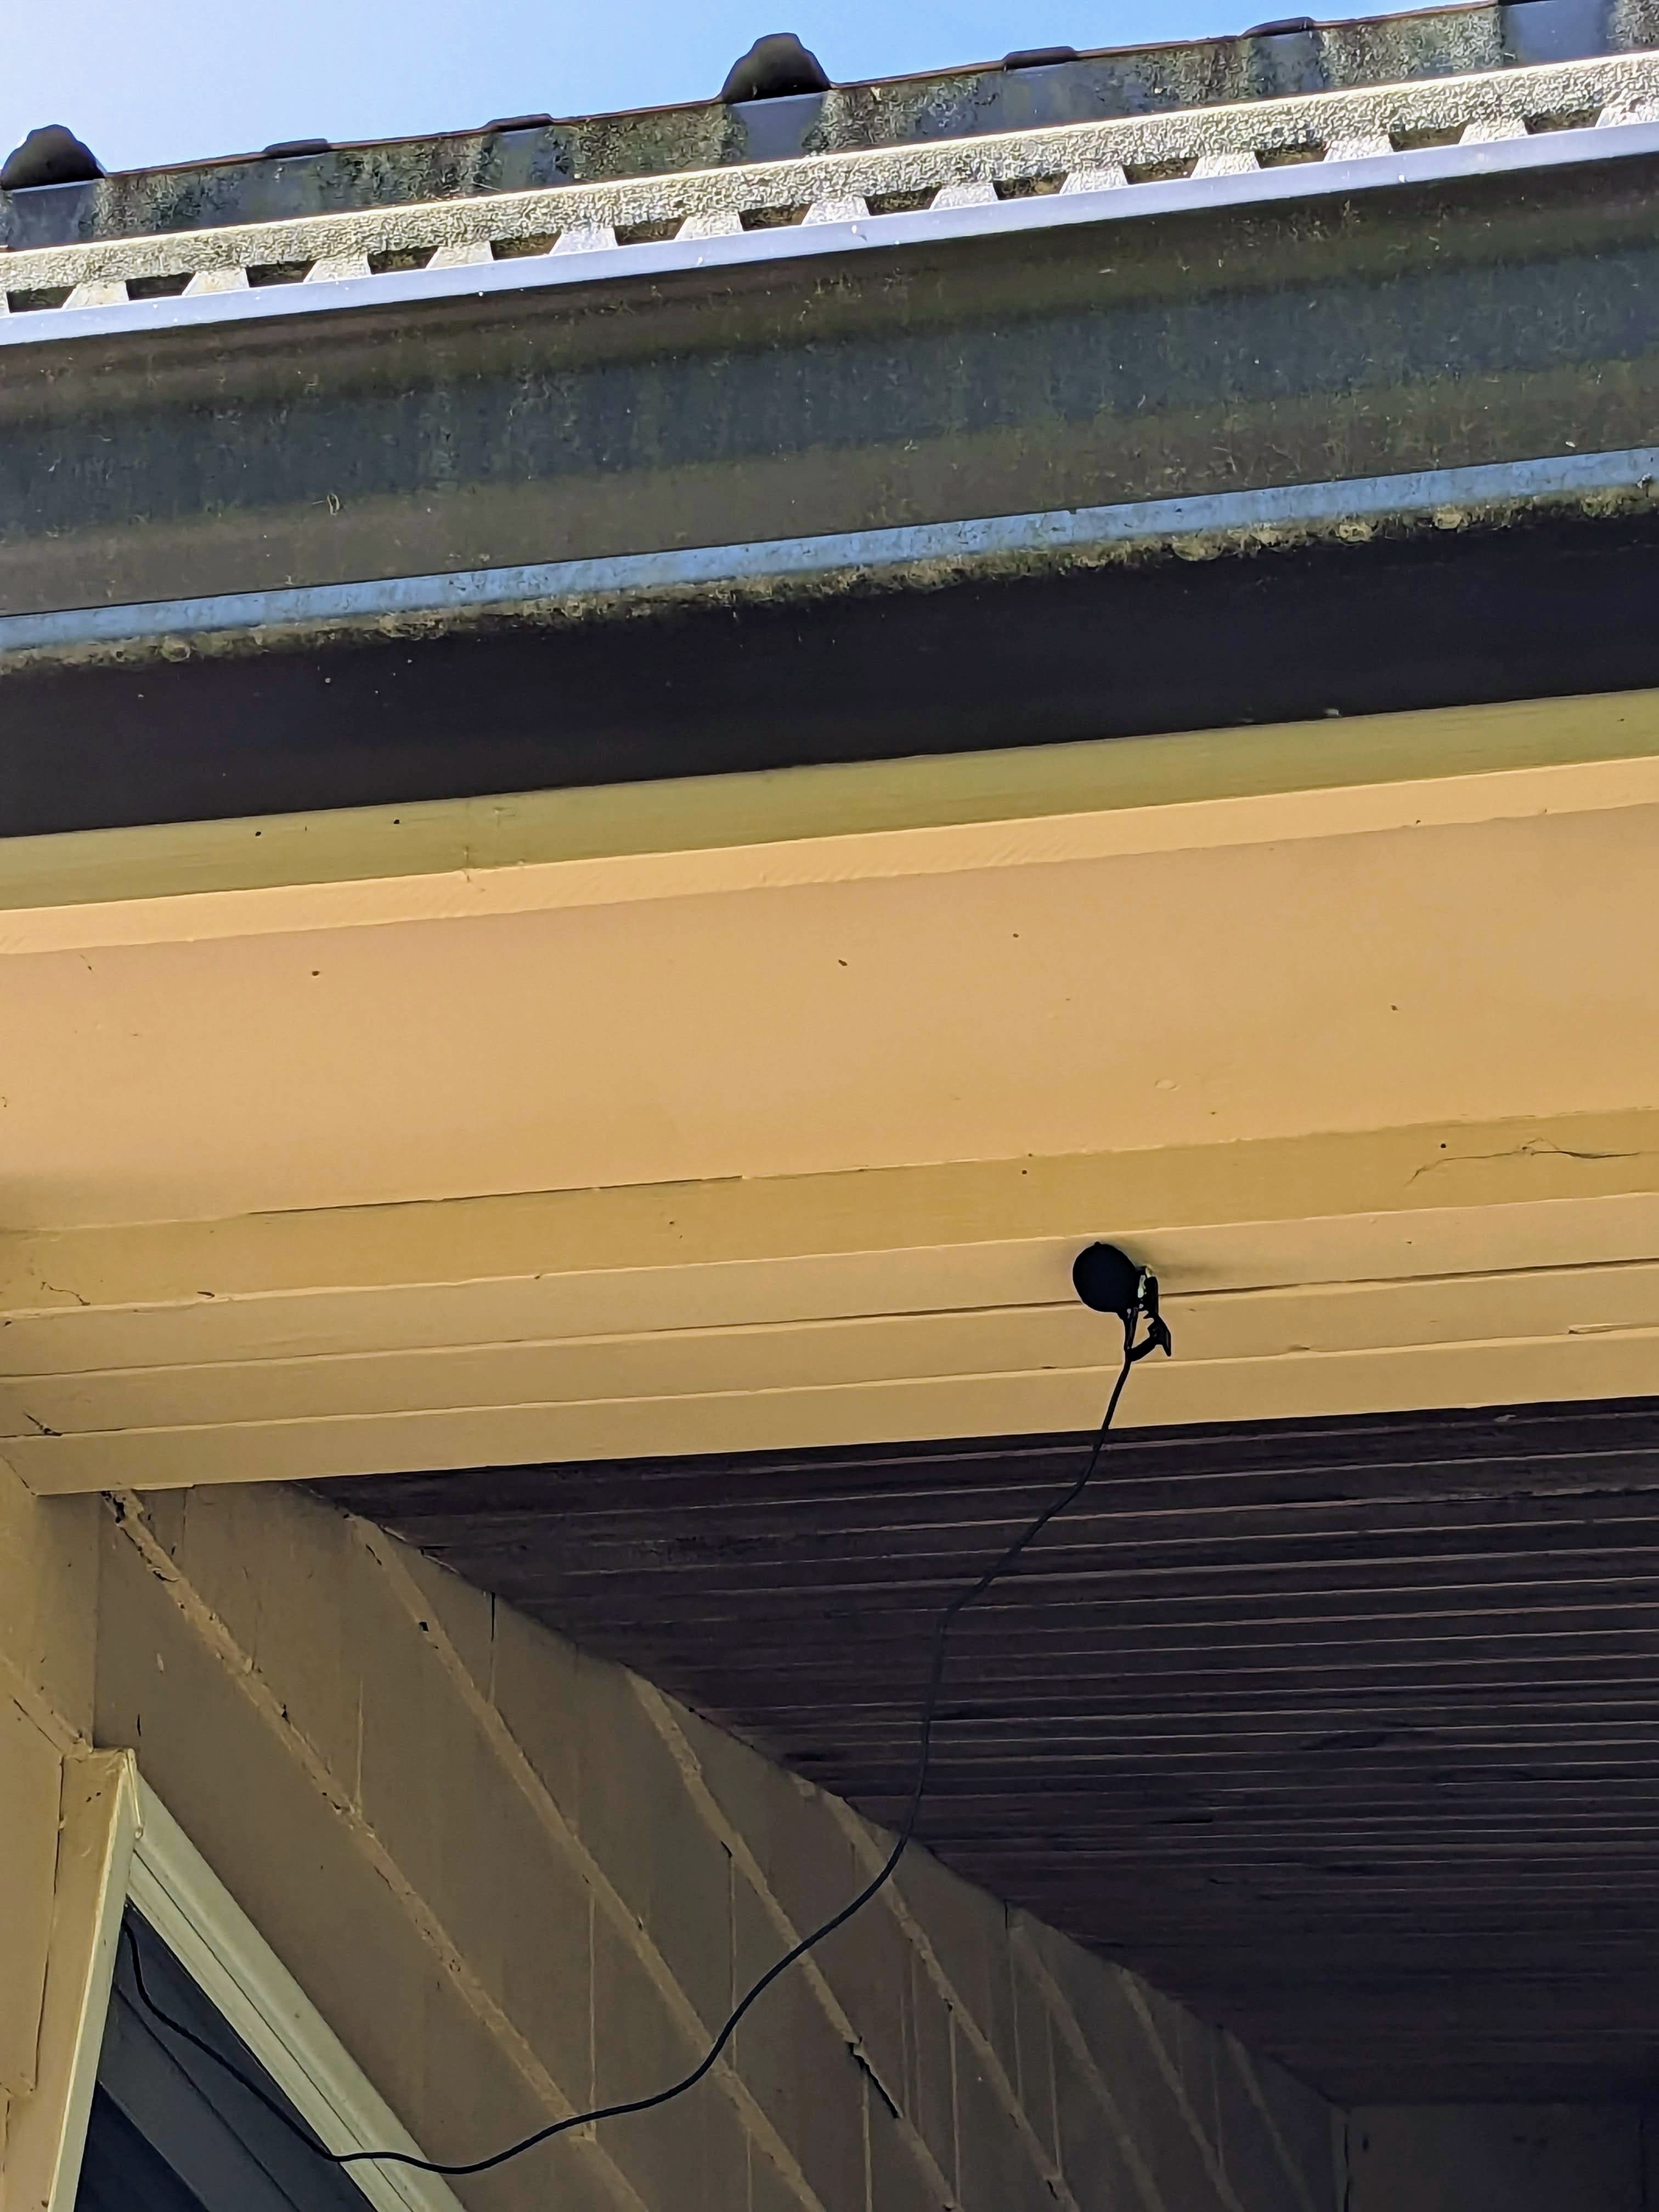
The Movo microphone has a long, thin cord, so it was easy to place the computer indoors on a windowsill with the mic cable running outside through a window.

The back of our house has eaves with a wide soffit, so I installed a hook and simply clipped the mic there. (See the photo on the right.) Originally I had it in a plastic bag to protect it from the rain, but it’s pretty well sheltered so I removed the bag to avoid muffling the sound. 